QUICK START: System Setup
SERVER INSTALLATION
EVE server firmware is supported by many different hardware units. Choose the solution that best suits your needs:

VIRTUAL MACHINE
RASPBERRY PI
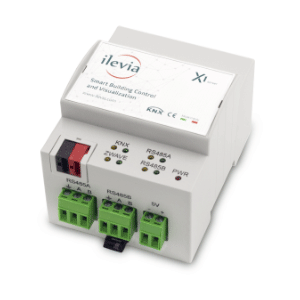
EVE X1
EVE X1 Server is the compact unit for smart building control. Hardware solution for advanced needs in the automation of residential, commercial and industrial buildings.
NETWORK CONFIGURATION
When connecting for the first time, connect the LAN network adaptor to the network then connect the power supply. The Server will then boot from the on board card (from the MicroSD card for Raspberry Pi) which stores all the firmware and user data. The Server will now get an IP address automatically from the router (DHCP server). It is important that your Server is connected to the same network as your computer so you can use the Server Connection command on the Ilevia Manager.
Connect to the server: Router
Open Ilevia Manager (downloads). Go to “Project” menu, then select “Connect” command. Connection dialog box will appear. Now select “Search” button and the whole network is searched to find the Server. The Server will be listed in the Search results list with the IP address, license ID (Server unique ID code) and name.

Highlight the Server in the Search results and enter the username and password (the default is ‘admin’ and ‘password’). Eventually select Ok command to connect.

Connect to the server: Direct
! Setting a manual IP address
If there is no DHCP server or router to assign an IP address to the Server, you must set one manually. By default, this should be in the range 192.168.1.x.
> How to change network settings (disable DHCP and use static IP address)
STEP 1: ADAPTERS
Open Windows Control Panel and go to the Network and Sharing Center. On the left you will see the Adapter settings option, click on this to see the adapters of your computer.

Step 2: ADAPTER PROPERTIES
Right click on the Ethernet adapter (the one connected to the Server) to go the Properties of the adapter.

Step 3: IPV4
Scroll down in the Networking tab to the entry ‘Internet Protocol Version 4 (TCP/IPv4) and then click on the Properties button to edit the IPv4 properties of the adapter.

Here you can assign your computer a static IP address. Click on the option ‘Use the following IP address:’ and then fill in an IP address and subnet. The IP address for your laptop should be one that the Server would not be using. By default with no router the Server IP address is 192.168.1.100 so set your laptop IP address to a different address of your Server IP address, for example 192.168.1.1 (mimicking a router).
Hit enter after entering the IP address and the subnet will automatically be filled in as 255.255.255.0. This is fine, you can now click OK and then exit the Control Panel network adapter windows.

FIRMWARE UPDATE
Time to time we make new firmware updates which you need to install following this online procedure.
Admin panel
- Power on the central unit and connect it to the LAN network
- Start your web browser
- In the address bar enter http://www.ilevia.com/evelocalip.php
The browser will display a list of all the IP addresses of all the Servers in the network. In presence of a single EVE Server in the network you will directly land on the admin panel login of the only EVE Server connected to the local network (as shown in the picture).
On the admin panel login you’ll find all the most important information about your Server: firmware version, license ID, license status, public IP, MAC address.

Login with your username and password (the default is ‘admin’ and ‘password’). Once successfully logged in, the navigation menu will be display in front of you.

Utility menu
- Open the Utility section from the menu
- Click on “Check Now” to the online firmware update checking
- If a new firmware update is available, click “Update“
- Wait the system reboot and login

If the system is already updated to the latest firmware version, then a message is shown.

QUICK START: Project Workflow
We are going to begin a new project from scratch using Ilevia Manager configurator software.
At the beginning, you will learn how to configure a switch actuator and how to design a simple customized user interface.
Finally, you will learn how to upload EVE project to the server and be able to control from EVE App what previously configured.
1.1 Gateway creation
Gateways tab is arranged into two different areas: Gateways and Gateway’s properties.
There are already four existing gateways which exist by default and can not be removed.

We need to create a new gateway that connects EVE Server to the KNX bus.
Click on the “+” icon on top right of the Gateways area (or click right button with your controller). A new gateway will be created.


Set a title and choose the KNX protocol on Gateway’s properties area.
Enable the new gateway and fill in the Address field with the IP of your KNX gateway.
Change the port accordingly to your configuration.

When configuring EVE X1:
Address field must be filled with the following text: /dev/ttyS1
1.2 Component configuration
Components tab is arranged into three different areas: Components library, My components and Component’s properties.
Drag and drop a “SWITCH” component from Components library area to My components area.
Fill in Write Address and Feedback Address fields on Component’s properties area.
Write Address and Feedback Address correspond to the switch actuator connected to the KNX bus.

1.3 Upload to the server
Save the project then select Project on menu bar and Upload to server.
The upload window will pop up. Be sure to enter all the correct datas.
Select Search and then the IP address of your EVE Server.

Enter “admin” as User ID and “password” as password of the project (default credentials).
Select Ok and the current project will be uploaded to EVE Server.
1.4 Real time connection
Select Project on the menu bar and Connect.

The connection window will pop up. Be sure to enter all the correct datas.
Select Search and then the IP address of your EVE Server.

Enter “admin” as user ID and “password” as password of the project (default credentials).
Select Ok and Ilevia Manager will be connected with EVE Server.
Once connected, it will be possible to check in real time the component’s configuration.
In case of wrong configuration, the wording “N.D.” (not defined) will appear inside the button.


1.5 User interface creation
NOTE
EVE allows 2 different user interface styles (Classic and Map) with a complete different type of visualization.
Each user has its own interface style (Classic or Map). The Classic style is the default one that Ilevia Manager allows you to configure.
To control your building with both user interface styles, you will need to create 2 different users and design 2 different interfaces.
User interface tab. This tab is arranged into two different areas:
1. Icons / My components (right area) which contains icon sets and configured components;
2. User interface grid (left area) where you will arrange the user interface.
Select Icon tab then drag and drop an icon on the User interface grid on left (Icons or Scenaries levels).
This is the first icon of the main menu of our new user interface.

Select My components tab then drag and drop the component on the User interface grid on left (Components levels).
Doing so, we have chosen the component we want to control when selecting the first main menu icon we have previously set.

Then upload the project to the server. Refer to the paragraph 1.3 to know how to do it.
1.7 EVE Remote login
Run EVE Remote app (on mobile device or desktop) .
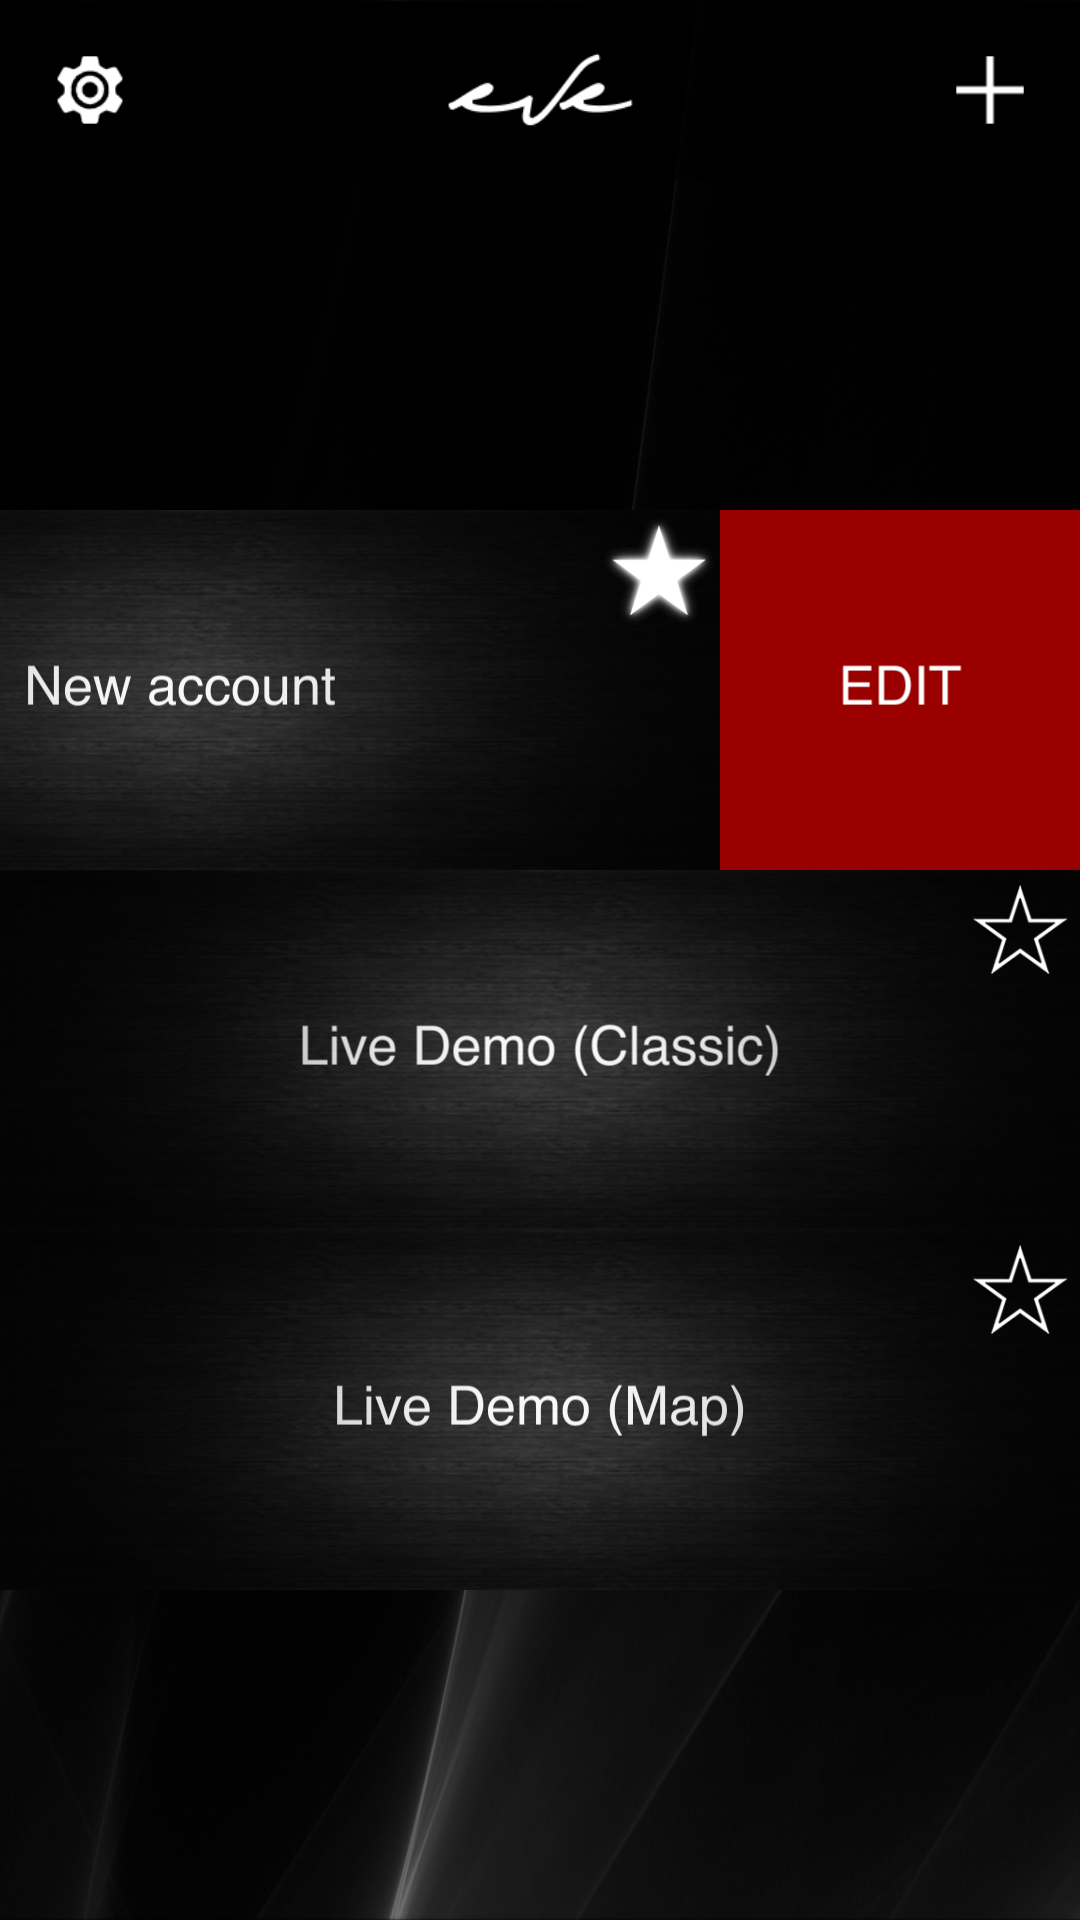
Select “+” icon on top right corner of the screen. A new account will be created (Pic.1).
Set a title for your new account, then enter your EVE Server IP address (also Auto search) (Pic. 2).
Enter “admin” as username and “password” as password of the project (default credentials). When done, go back to the welcome panel and tap on the new account box in order to load your user interface (Pic. 3).
You can still edit the account by swipping from the right to the left from the top of the account Icon (Pic. 4).

Pic. 1

Pic. 2

Pic. 3

Pic. 4
1.8 Interface usability
Once the user interface is loaded, this is what the user will see (Classic user interface style).
Tap on the component icon to turn ON and OFF the configured switch.


QUICK START: My first EVE project
Now we will lead you on the configuration of your personal KNX project starting from the ETS group import.
Here you will find all the basic information to begin your first project using EVE System.
Further detailed information and guides can be found on the User Manuals menu.
Gateway creation
Let’s start a new project from scratch. Select “File” from the Ilevia Manager menu and choose “New”.
Now proceed with creating a new KNX gateway that connects EVE Server to the KNX bus.
Please refer to 1.1 paragraph of “Project workflow“.
Components configuration
Let’s switch to Components tab.
Drag and drop all the components you need on your KNX project from “Components library” to “My components” area.
You can also organize components into different groups. Click on the “+” icon on the top right of Components tab.
Once done a new group will be created. Set the title then drag and drop components into it.

ETS groups importation
Step 1:
To begin with, we start by exporting the project from ETS that we need to import into Ilevia Manager.
We click with the right mouse button on the project that we have chosen and select Export, now let’s save it in our


Step 2:
Let’s move inside Ilevia Manager and select “Tools” on the menu and choose “Import” -> “ETS groups”.

Load the previously created .esf file and a list of the ETS project components will appear in a new window.
Load your .esf file and a tree of your ETS project components will appear in a new window.


Now select the component you want to configure in the “My components” area.
We drag and drop the KNX configuration address from the ETS Project window into the address boxes of our component.

Upload to the server
Save the project then select “Project” on Ilevia Manager menu and choose “Upload to server”.
A new window will pop up. Be sure to enter all the correct data.
Select “Ok” and the current project will be uploaded to the server.
Please refer to 1.3 paragraph of “Project workflow“.
Real time connection
Select “Project” on the Ilevia Manager menu and choose “Connect”.
A new window will pop up. Be sure to enter all the correct data.
Select “Ok” and Ilevia Manager server will connect automatically with the server.
Once connected it will be possible to check in real time if the component’s configuration was correct.
Please refer to 1.4 “Real time connection” paragraph of “Project workflow“.
Remote connection
From Ilevia Manager:
When connecting remotely to the installation through a mobile device, you need to sign in with a new account.
You need to sign in with a local IP address to access from the local connection and with a static IP address to access remotely.
EVE avoids this rule and simplifies the remote connection to the installation.
From EVE REMOTE PLUS:
What you need to do is to open the Port 18000 on the router to have access to EVE Remote App remotely.
You can immediately test this feature of the system just disconnecting from your LAN connection and turning on the LTE service of your smart device. If you have successfully opened the Port 18000 it won’t be necessary to do anything else than run the App and get access on the account with the pubblic IP set inside its properties.
Connection with the AUTO RESOLVE IP option:
EVE Remote Plus gives an alternative way to connect remotly into your account without setting two different account with different IP addresses. With the Atuto resolve IP option you will be able to use the same account with an local IP address to access your server remotly. In order to makes this option work just enter the edit menu of the account which you want to access remotly, then make sure the “Auto resolve IP” check box is active, finally connect your smart device into your local network and connect into your account. Once done you will be able to connect with the same account even remotly without making any change in the account settings.
CLASSIC USER INTERFACE
Select “User interface editor” on the section tab on top.
Select “Icon tab” and then “EVE Icons” on the area on the right of the screen.
Drag & drop icons in empty squares on left hand of the screen (Icons or scenarios).

You are free to set also a second menu relative to the icon set on the first level.

Select “My components” tab, then drag & drop components on the interface (third and fourth levels).
Doing so we will choose the components we want to control relative to the first and second set menu.

You can either add a subcomponent that completely optional.
The subcomponent comes handy in case of a dimmered light, as you can see from the picture below, the component that dimm the light is added as subcomponent on the subcomponents row.

Upload to the server
Save the project then select “Project” on the Ilevia Manager menu and choose “Upload to server”.
A new window will pop up. Be sure to enter all the correct data.
Select “Ok” and the current project will be uploaded to the server.
Please refer to 1.3 paragraph of “Project workflow”.
EVE Remote login
Press ![]() icon on top right of the corner. It will allow adding a new account.
icon on top right of the corner. It will allow adding a new account.
Choose a title then enter the EVE Server IP address, User ID and User Password of the user.
Once you have set the credentials, go back to the main screen by clicking the icon ![]() on the op left of the screen.
on the op left of the screen.
Finally click on the account you just created in order to access your user interface.
Please refer to 1.7 EVE Remote paragraph of “Project workflow“.
Interface usability
This is the visual result of the interface created on Ilevia Manager software.
The first icon you see is the icon set on the first level of your interface, then come all the others.
Select the icon on the main menu and go deeper in order to find components to control as arranged on Ilevia Manager.


Turn the switch ON and OFF on EVE Remote and check it out lighitng up IRL.
Map user interface
We are now going to design a new user interface with a different style. In fact, there are two different user interface styles with a completely different visualization. It will be necessary to create a new user on Ilevia Manager configurator software due to the fact that each user has its own interface style. To control the building with both interface styles, you will need to create 2 different users.
New user creation
Till this moment we have worked as admin (connected user) on the admin interface (current user).
We are now going to add a new user to the project. Select “Project” on the Ilevia Manager menu, then “User”.
Click the “Add new” command and the “User Management” window will appear in front of you.
Firstly we need to know how to add a new user to our project.
You may have noticed the information which is displayed on top of Ilevia Manager window:
Connected user: admin – Current user: admin – Current project: n.d.

Choose “Name” and “Password” for the new user and confirm the new user creation.
In this sample case, I chose the following authentications: Name: map user – Password: password
You will be asked to choose which interface style you are going to arrange for the new user.
When choosing “User interface style: Map”, further settings appear below that allows you to set the preliminary interface’s settings such as: width, length, menu bar design, etc.
After creation the software will switch to the new current user:
Connected user: admin – Current user: map user – Current project: n.d.
Now we can start working on the new user interface creation for EVE Remote Map style App.
Map interface creation
1 In order to add a new Main menu icon press the “+” icon on the left panel to access the Icon pane (Right side picture);
2. The Interface area where you will arrange the user interface (Left side picture).

Select an icon from the Icon pane by pressing the “+” button on the left area of the screen.
Doing so we will set the icons we want as main menu (primary bar) of our user interface.
You now have the chance to edit this icon. Double click on it and the “Editing” window will pop up.
You now have the chance to set a secondary menu accordingly to each new level of the primary menu.
In order to do this just click “+” icon next to the “Untitled” tab on top of the canvas area.
You can add as many secondary menu tabs as you want for each level of the main menu.

You now have the chance to edit the tab. Double click on the tab and the “Editing” window will pop up.

We can now focus on the Interface area where we will drag & drop components to control.
You have the chance to customize the Interface area using the commands below for the background setting.
“Select file” allows you to choose a background for the selected secondary menu.
You can make it visible or not and also choose a background color for the specific secondary menu tab.


On the right area you can see the components tab of the interface editor screen.
Drag & drop components you want to control on the Interface area.

You now have the chance to edit these icons. Double click on them and the “Editing” window will pop up.
Interface usability
This is the visual result of the interface created on Ilevia Manager.
The first icon you see on left is used to set the primary menu of your interface.
The icons you see on top are the icons set as the secondary menu of the selected main menu icon.
The middle area of the Interface is arranged to contain all the components and the background elements.

Switches are displayed as empty icons which light up when selected as shown in the picture below.
Turn the switch ON and OFF on EVE Remote and check it out lighitng up IRL.
